Manage your seats
Add seats or remove unused seats on your Business or Enterprise subscription from the GPT for Work dashboard.
-
Only the space owner or a space admin can manage seats.
-
This feature is available on Business and Enterprise plans.
Add seats
New seats are available immediately. You are charged a prorated amount for the remainder of the current billing cycle, and the new seats receive prorated monthly quota for the same period.
-
Sign in to the GPT for Work dashboard with the account that you use for your space.
-
In the sidebar, select Billing.
-
Click Add seats.

-
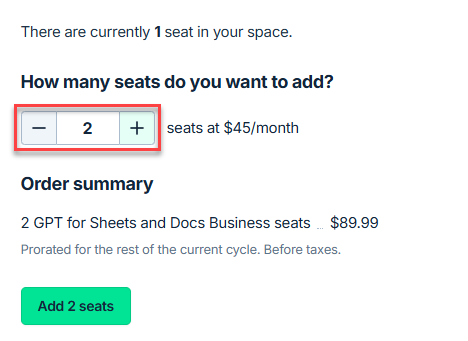
Select the total number of seats you need. The page shows a preview of the prorated charge.
-
Click Add seats.
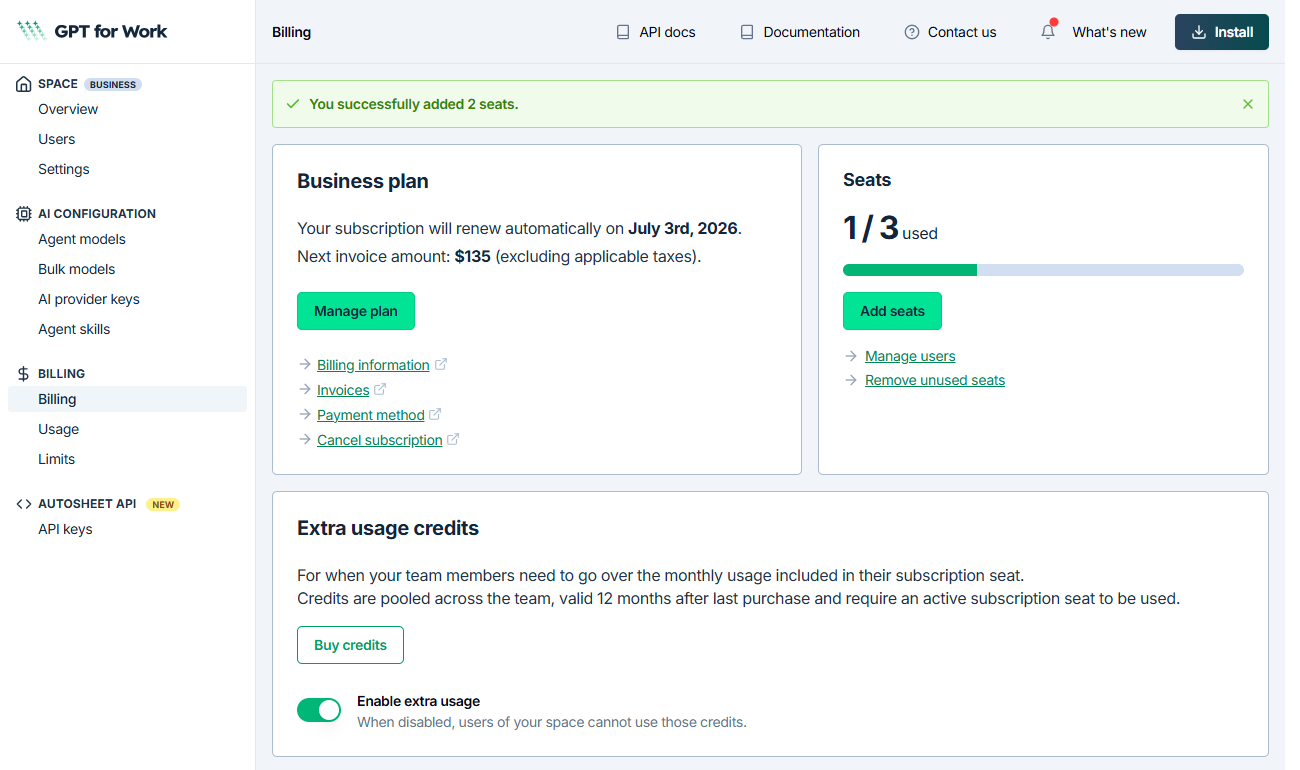
Your new seats are immediately available. The dashboard confirms the updated seat count and billing details.
Remove unused seats
Remove seats you no longer need to reduce your next invoice. The removal is scheduled for the end of the current billing cycle. You keep your current seat count until then.
You can only remove unused seats. To remove more seats than are currently unused, remove users from the space first.
-
Sign in to the GPT for Work dashboard with the account that you use for your space.
-
In the sidebar, select Billing.
-
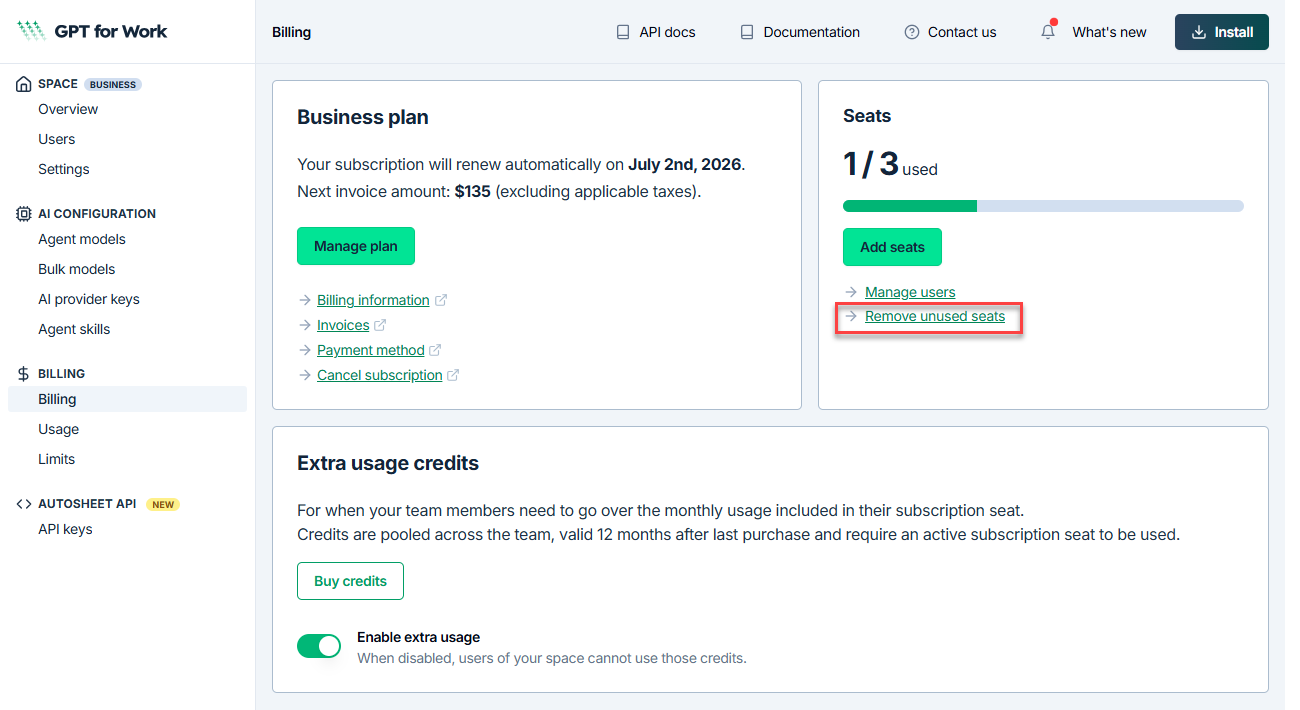
Click Remove unused seats.
-
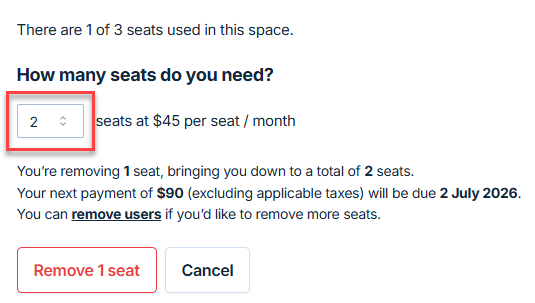
Select how many seats you need. The page shows your current seat usage and previews the impact on your next payment.
-
Click Remove seats.
Your seat removal is scheduled. The dashboard confirms the seat count after the change takes effect, the date it applies, and your updated billing amount for the next cycle.
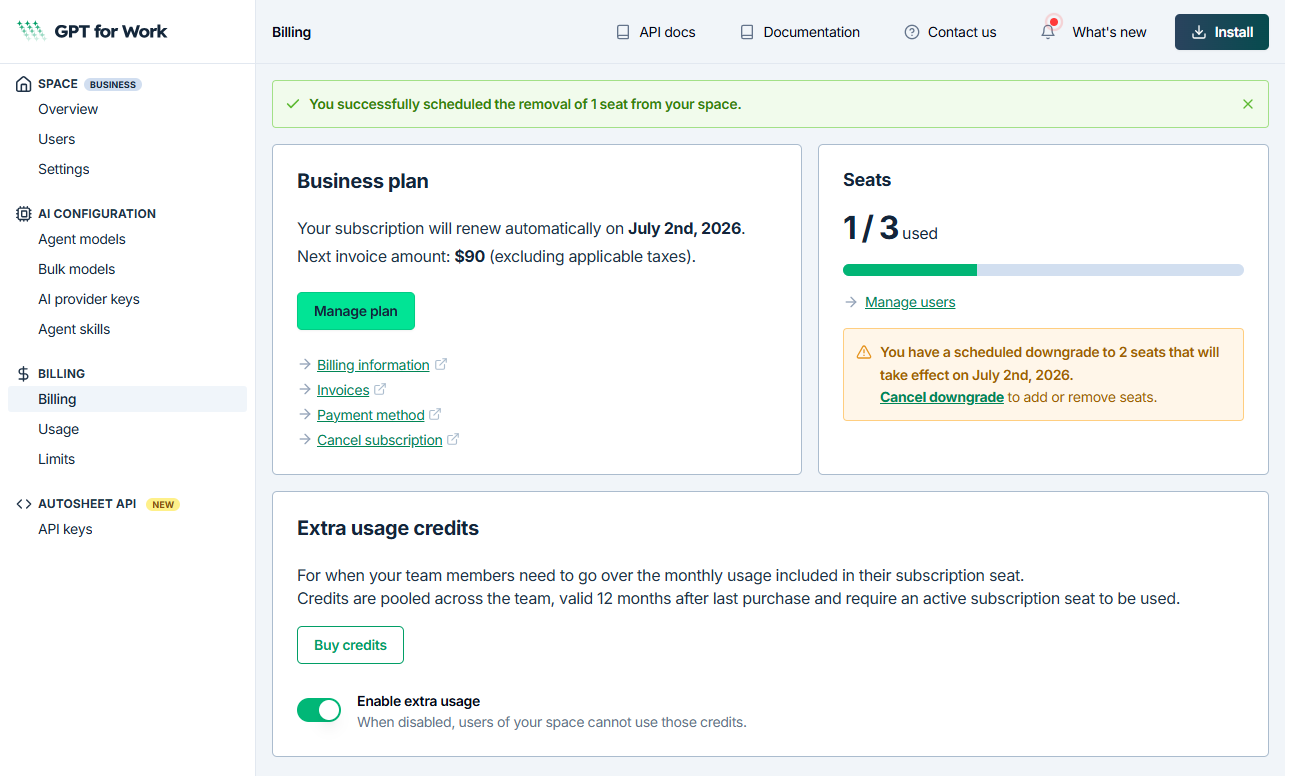
When a seat removal is scheduled, you cannot add or remove seats. To make further changes, first click Cancel downgrade on the Billing page.