You open a shared spreadsheet and the row numbers jump from 5 to 15. Ten rows, just gone. Your totals don’t add up, and now you’re staring at gaps that weren’t there yesterday.
Those rows aren’t deleted, they’re hidden. A teammate may have tucked them away to clean things up, or a filter might be keeping them out of view. Either way, the data is still there. You just need to know how to unhide rows in Google Sheets to bring it back.
In most cases, a simple right-click will do the trick. A quick shortcut can restore everything at once. And if a filter is the real culprit, you’ll need a slightly different approach.
Below, you’ll find four easy methods to unhide rows in Google Sheets, how to quickly spot hidden rows, what to do when the unhide option is missing, and a faster AI-powered method that handles it all with a single prompt.
How to Spot Hidden Rows in Google Sheets
Before you try to unhide anything, you need to spot where the hidden rows actually are. Luckily, Google Sheets leaves a few visual clues.
The most obvious sign is a gap in the row numbers. Check the left side of your sheet if the numbers jump from 1 to 8, then rows 2 through 7 are hidden. Once you know what to look for, it’s easy to catch.
Another clue is a pair of small arrows that appear next to the row numbers where the gap occurs. In the example above, you’ll see a downward arrow below row 1 and an upward arrow above row 8. These arrows sit along the edge of the row number column and mark exactly where rows are hidden. You can click them to unhide rows in Google Sheets directly, but more on that in Method 2.
There’s also a subtle visual cue that’s easy to miss: a thin horizontal line between two rows. It can make the rows look slightly compressed, as if they’re sitting closer together than usual.
Method 1: Right-Click to Unhide Specific Rows
This is the most common way to unhide a row in Google Sheets, and it works when you know exactly where the hidden rows are.
Look at the row numbers on the left side. In our example, the numbers jump from 1 to 8. That means rows 2 through 7 are hidden.
Step 1: Click on row number 1 (the row right above the gap).
Step 2: Hold Shift on your keyboard (same key on Windows and Mac) and click on row number 8 (the row right below the gap). You'll see both row 1 and row 8 get highlighted in blue. That selection tells Google Sheets "I want to work with this range, including the hidden stuff in between."
Step 3: Right-click anywhere on that blue highlighted area. A menu will pop up. Look for the option that says "Unhide rows 2–7" and click it. The hidden rows appear instantly.
That's it. Three clicks and your rows are back.
If you're more of a keyboard person, you can skip the right-click. Select the rows the same way (Step 1 and 2), then press Ctrl + Shift + 9 on Windows or Chromebook, or Cmd + Shift + 9 on Mac.
If you need to bring back all hidden rows at once, Method 3 has a quicker way.
Method 2: Click the Arrow Icons
This is the fastest option when hidden rows are grouped in one spot.
Look at the row numbers along the left side of your sheet. Wherever rows are hidden, you’ll see two small arrows between the visible rows: one pointing up, one down. In the earlier example, they appear between row 1 and row 8.
Step 1: Find the small arrows in the row number column. They sit right at the gap where rows are hidden.
Step 2: Hover over either arrow (up or down, both do the same thing) and click it. The hidden rows show up right away.
No selecting, no right-clicking, no menus, just one click.
If your sheet has hidden rows in multiple places, Method 3 shows how to reveal them all at once.
Method 3: Unhide All Rows at Once
Sometimes rows are hidden in so many places that fixing them one by one isn’t practical. Maybe you’ve opened a shared sheet and have no idea how many rows are hidden or where. This method reveals all of them at once.
Step 1: Click on row number 1 on the left side of your sheet. This selects the entire first row.
Step 2: Press Cmd + A on Mac or Ctrl + A on Windows. This selects all the rows in the sheet. Everything will highlight in blue.
Step 3: Right-click on any row number on the left side. Make sure you click on the number itself, not on a cell. If you right-click on a cell instead, you'll get a different menu and the unhide option won't show up.
Step 4: Click Unhide rows. All hidden rows will immediately reappear.
This is the quickest way to unhide all rows in Google Sheets when you don’t want to track down each hidden section individually.
One thing to keep in mind: this only restores rows that were hidden manually. If a filter is hiding rows, they won’t reappear with this method, you’ll still see gaps and green row numbers. In that case, you’ll need to remove or adjust the filter, which we’ll cover in Method 4.
Method 4: Clear Filters to Show Hidden Rows
The first three methods only work for rows hidden manually. If a filter is hiding your rows, none of them will bring the data back, you need to turn off or adjust the filter itself.
Here’s how to tell if a filter is the issue. Look at the row numbers on the left. If they’re green instead of the usual black, a filter is active and hiding some rows. You may also notice small filter icons in the header row.
Step 1: Click on Data in the top menu bar.
Step 2: Click Remove filter.
Step 3: All the filtered rows become visible again. The row numbers go back to black and the gaps disappear.
If you don’t want to remove the filter completely, you can adjust it instead. Click the filter icon in the column header to open the dropdown menu. Then check the Select all option to include every value, and click OK. The filter will stay in place, but it will no longer hide any rows.
A common scenario: you open a sheet and rows are missing for two different reasons. Some were hidden manually (you’ll see arrows in the row numbers), while others are hidden by a filter (indicated by green row numbers). In that case, you’ll need to handle both, clear or adjust the filter first using this method, then use Method 3 to unhide all rows in Google Sheets that were manually hidden.
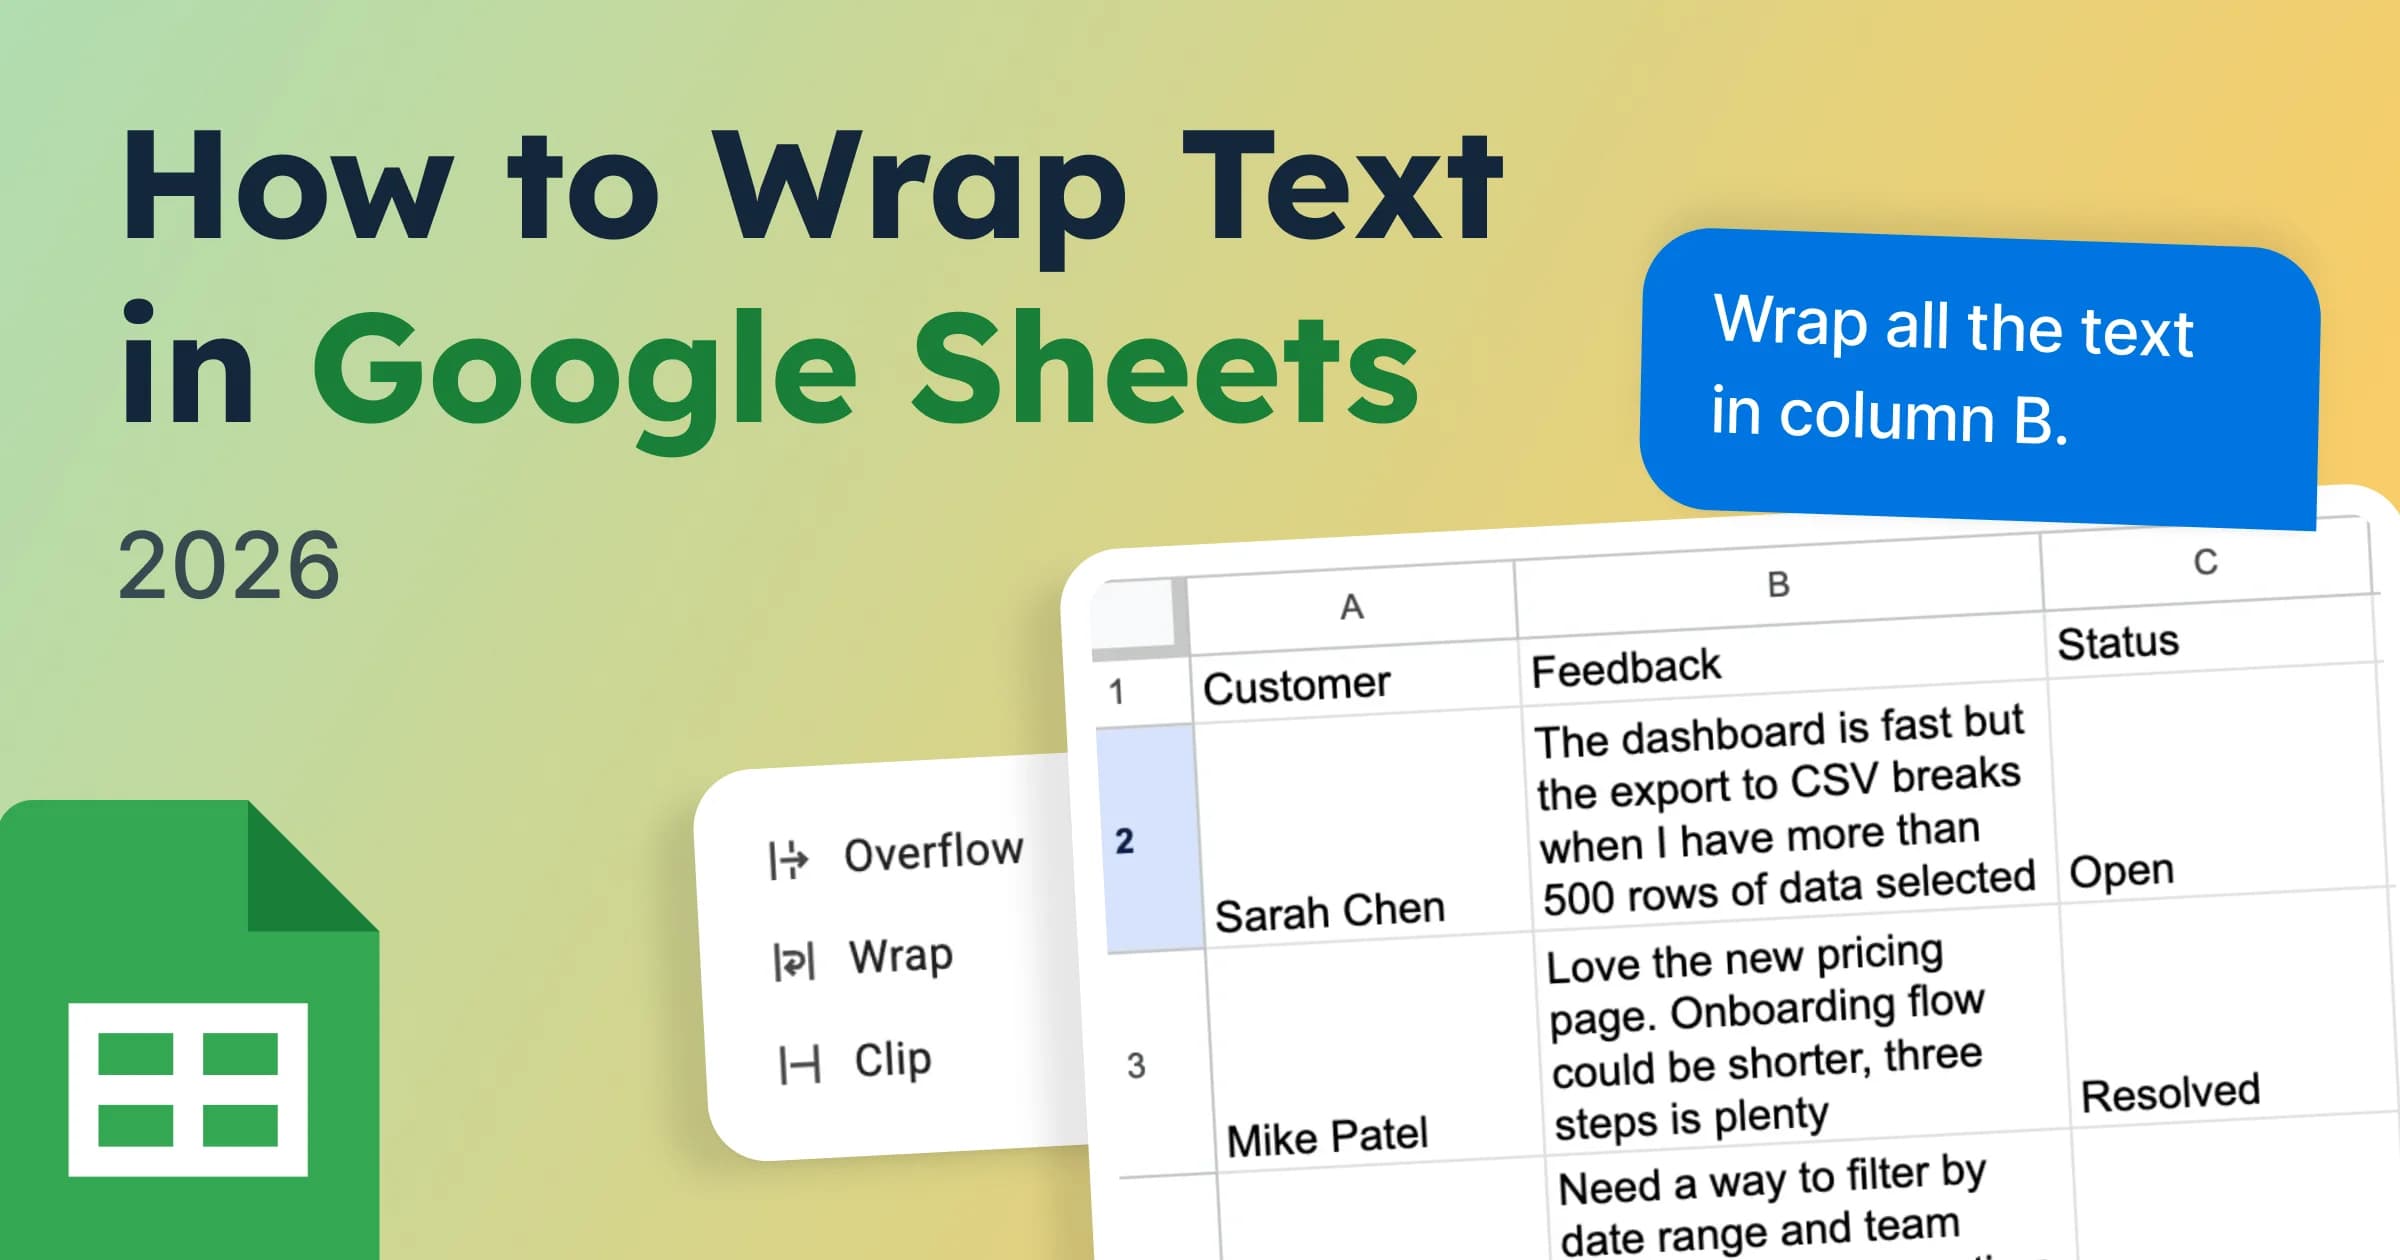
GPT for Sheets: Skip the Clicking, Just Tell It What You Want
Your manager sends you a 3,000-row spreadsheet five minutes before a meeting. Half the rows are hidden, the Region column has typos everywhere, and there are 40 blank rows mixed in. You need it cleaned up and ready to present.
You could spend 25 minutes selecting rows, right-clicking, clearing filters, deleting blanks, and fixing typos one by one. Or you could open GPT for Sheets and prompt:
"Unhide all hidden rows, remove any blank rows, then calculate the average Unit Price per Region and add a summary at the bottom"
Done. The agent reads your sheet, figures out what needs to happen, and runs through every step on its own. No formulas. No menus. You describe the outcome and it handles the rest.
That’s what sets it apart from a typical add-on. GPT for Sheets, built by GPT for Work, acts as a full AI agent for Google Sheets. It doesn’t just answer a question or generate a formula, it takes a complete task, breaks it down, and gets it done.
Unhiding rows is just the beginning. GPT for Sheets can generate content across thousands of rows, translate entire sheets, pull company data from the web, analyze images from URLs, categorize support tickets, and write or fix formulas. Tasks that would normally take hours can be handled with a single prompt.
Why Do Rows Get Hidden in Google Sheets
Rows don't just disappear on their own. There's always a reason. Someone hid them manually.
This is the most common case. A teammate right-clicked and selected “Hide rows” to clean up the view for a report or presentation. The data is still there, just out of sight. A filter is active.
Filters hide any rows that don’t match the selected criteria. For example, if a column is filtered to show only “North,” rows with “East,” “West,” or “South” will disappear. A clear sign of this is green row numbers instead of the usual black. Rows are grouped and collapsed.
Google Sheets lets you group rows so they can be collapsed. When this happens, you’ll see a small + icon on the left side. Click it to expand the group and reveal the rows. They were actually deleted.
If none of the methods bring your rows back, they may not be hidden at all. Go to File → Version history → See version history and check earlier versions of the sheet. You can restore one to recover the missing data.
Conclusion
Hidden rows cause one of the most common 'where did my data go' moments in Google Sheets. You open a shared file, the row numbers skip, and suddenly your totals don't match. It happens all the time.
Most of the time it's a quick fix. Right-click and unhide if you know where the hidden rows are. Click the small arrows if you spot them. Select all rows and unhide everything at once if the sheet is a mess. And if a filter is causing the problem, remove it from the Data menu.
The one thing to remember is that hidden rows are never deleted. Your data is still there. Formulas like SUM and COUNT still include them in the results. You just need to bring them back into view.
For larger spreadsheets where unhiding rows is just one part of the cleanup, GPT for Sheets by GPT for Work can handle the entire process from a single prompt. No clicking through menus, no repeating the same steps across multiple tabs. Just describe what you need, and the agent takes care of the rest.
FAQs
How do I unhide all rows in Google Sheets at once?
Click row number 1 on the left side, then press Ctrl + A (Windows) or Cmd + A (Mac) to select the entire sheet. Right-click on any row number (not a cell) and choose “Unhide rows.” All hidden rows will reappear at once.
Can I unhide rows on the Google Sheets mobile app?
Yes. Tap and hold the row number above the hidden section, then drag the blue handle down to the row below it. Open the three-dot menu and select “Unhide rows.”
Why are my rows missing in Google Sheets but not hidden?
Several things could cause this. A filter could be active (look for green row numbers). Rows might be grouped and collapsed (look for a small + icon on the left side). Or someone may have deleted the rows entirely. Check File > Version history to see if the data existed in an earlier version.
Why is the Unhide option grayed out?
The sheet is likely protected, and you may not have edit access. Right-click the sheet tab at the bottom and select “View protection settings.” If the sheet is locked, you’ll need permission from the owner to unhide rows.